Facility Map
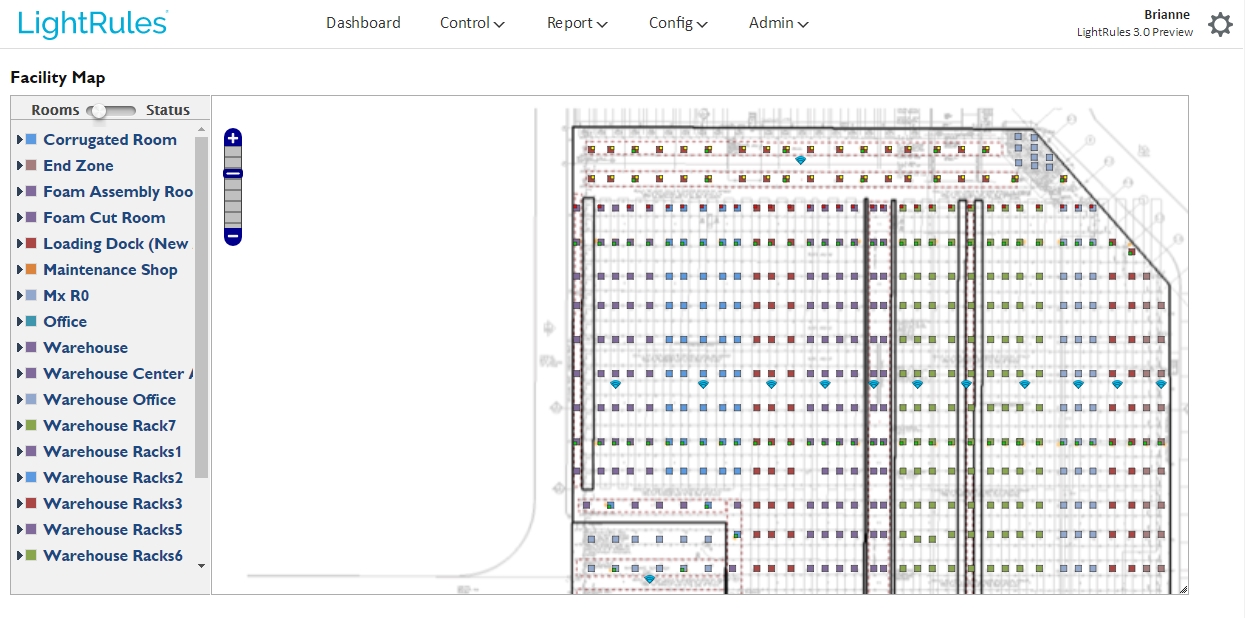
The facility map displays lighting system information as an overlay on the facility floor plan.
Note: To use the facility map feature in LightRules, the map file created with Commissioner software must contain the facility drawing (typically a PNG file).
Select Config > Map from the menu to open the facility map, which displays lighting system information as an overlay on the facility floor plan. There are two map views: Rooms view and Status view.
Rooms view shows all light, zone, and room details at a glance. Each light appears as a square on the map. You can ping lights and access light settings via each light's quick-view popup.

|
Use the toggle button to switch between rooms view and status view. |
|
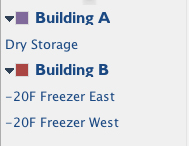
The legend lists each room and zone in the facility. Rooms are color-coded: All lights in the same room appear have the same color on the map. Click a room to expand the zone list for that room. Click a zone to highlight all lights in that zone. |

|
In rooms view, all lights display as square icons. |

|
If a light is calibrated and enabled for daylight harvesting, the icon contains a yellow box. |

|
If a light is configured as a coordination master, the icon contains a red box. |

|
If a light is battery backup enabled, the icon contains a green box. |

|
All gateways appear as wedge icons. |

|
All keypads appear as boxed circle icons. |

|
Power meters appear as meter dial icons. |

|
Power gateways appear as rectangular icons. |
|
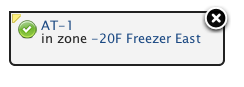
When you click on a light or gateway icon, that device's quick-view popup appears. The popup shows the name and zone assignment. The status icon indicates if the device is actively communicating with LightRules (green icon), if the device has not communicated with LightRules in 24 hours (yellow icon), or if the device is out of sync or has never communicated with LightRules (gray icon). Click on the status icon to ping the device and update its status in the map. Additionally, if you click on the name, the configuration page for that device appears. Note that the yellow tab in the upper-left or upper-right corner of the popup points to the device whose information is being displayed. |
|
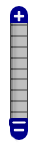
Click anywhere on the zoom control to zoom in or out. |

|
In the lower-right corner of the map, click-and-drag the re-size control to re-size the map window. |
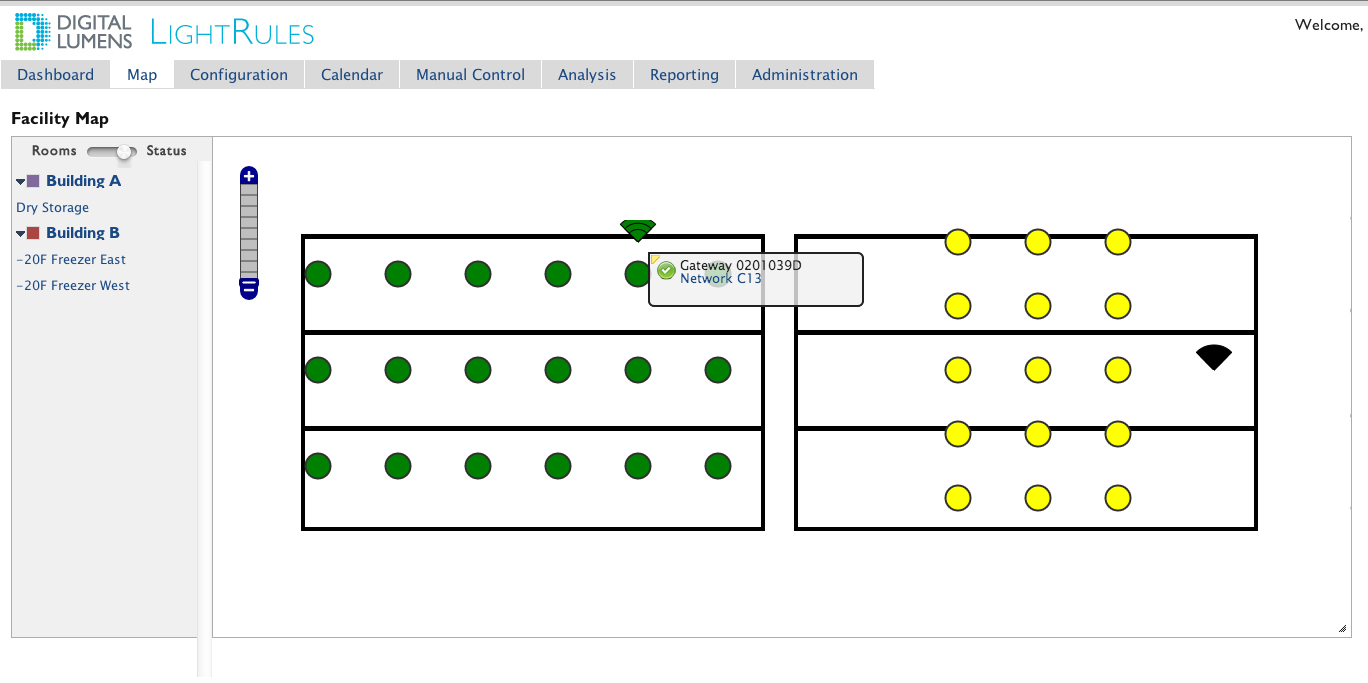
Use the toggle button to switch between Rooms view and Status view. Status view shows the state of each light.

|
Communicating lights and gateways appear as green icons. |

|
Non-communicating lights and gateways appear as yellow icons. |

|
If a light is out of sync, or if a light has never communicated with LightRules, it appears as a gray icon. |
During LightRules installation, the installer uses building drawings and information gathered during the planning process to create a map file specific to your facility. The map is created with Commissioner Software. The map file is a configuration file containing all fixtures, zones, gateways, and rule sets, and it contains all of the configurable settings LightRules needs to perform manual control, automated control, and reporting. Networks, rooms, zones, lights, coordinated control settings, and daylight harvesting settings are also configured during system installation. All settings are distilled into the map file.
When you make changes to zones, lights, rooms, keypads, power meters, or power gateways, you are effectively changing the map file. When you make these changes, Commissioner software is used to perform the programming.
Tip: You will need to use Commissioner software to move lights from one network to another, move the visual position of a light in the facility map, and/or update the facility map background image.
Downloading the Map File
Commissioner requires the latest version of the map file before any new programming work can occur.
To download (save) the map file, follow these steps:
- Select Config > Manage Map File from the menu.
- Click Download.
- Browse to the desired save location, and then click Save.
Back up the Current Map File
If site configuration is enabled, the map file is automatically saved once per day following changes. To start an immediate backup:
- Select Config > Manage Map File from the menu.
- Click Back Up.
For more information on site configuration, go to .
Uploading the Map File
(After editing the map file in Commissioner, you must upload the updated file to LightRules:
- Select Config > Manage Map File from the menu.
- In the Upload Map File section, click Choose File to browse to the desired save location
- Click Upload.
- Perform a Sync.